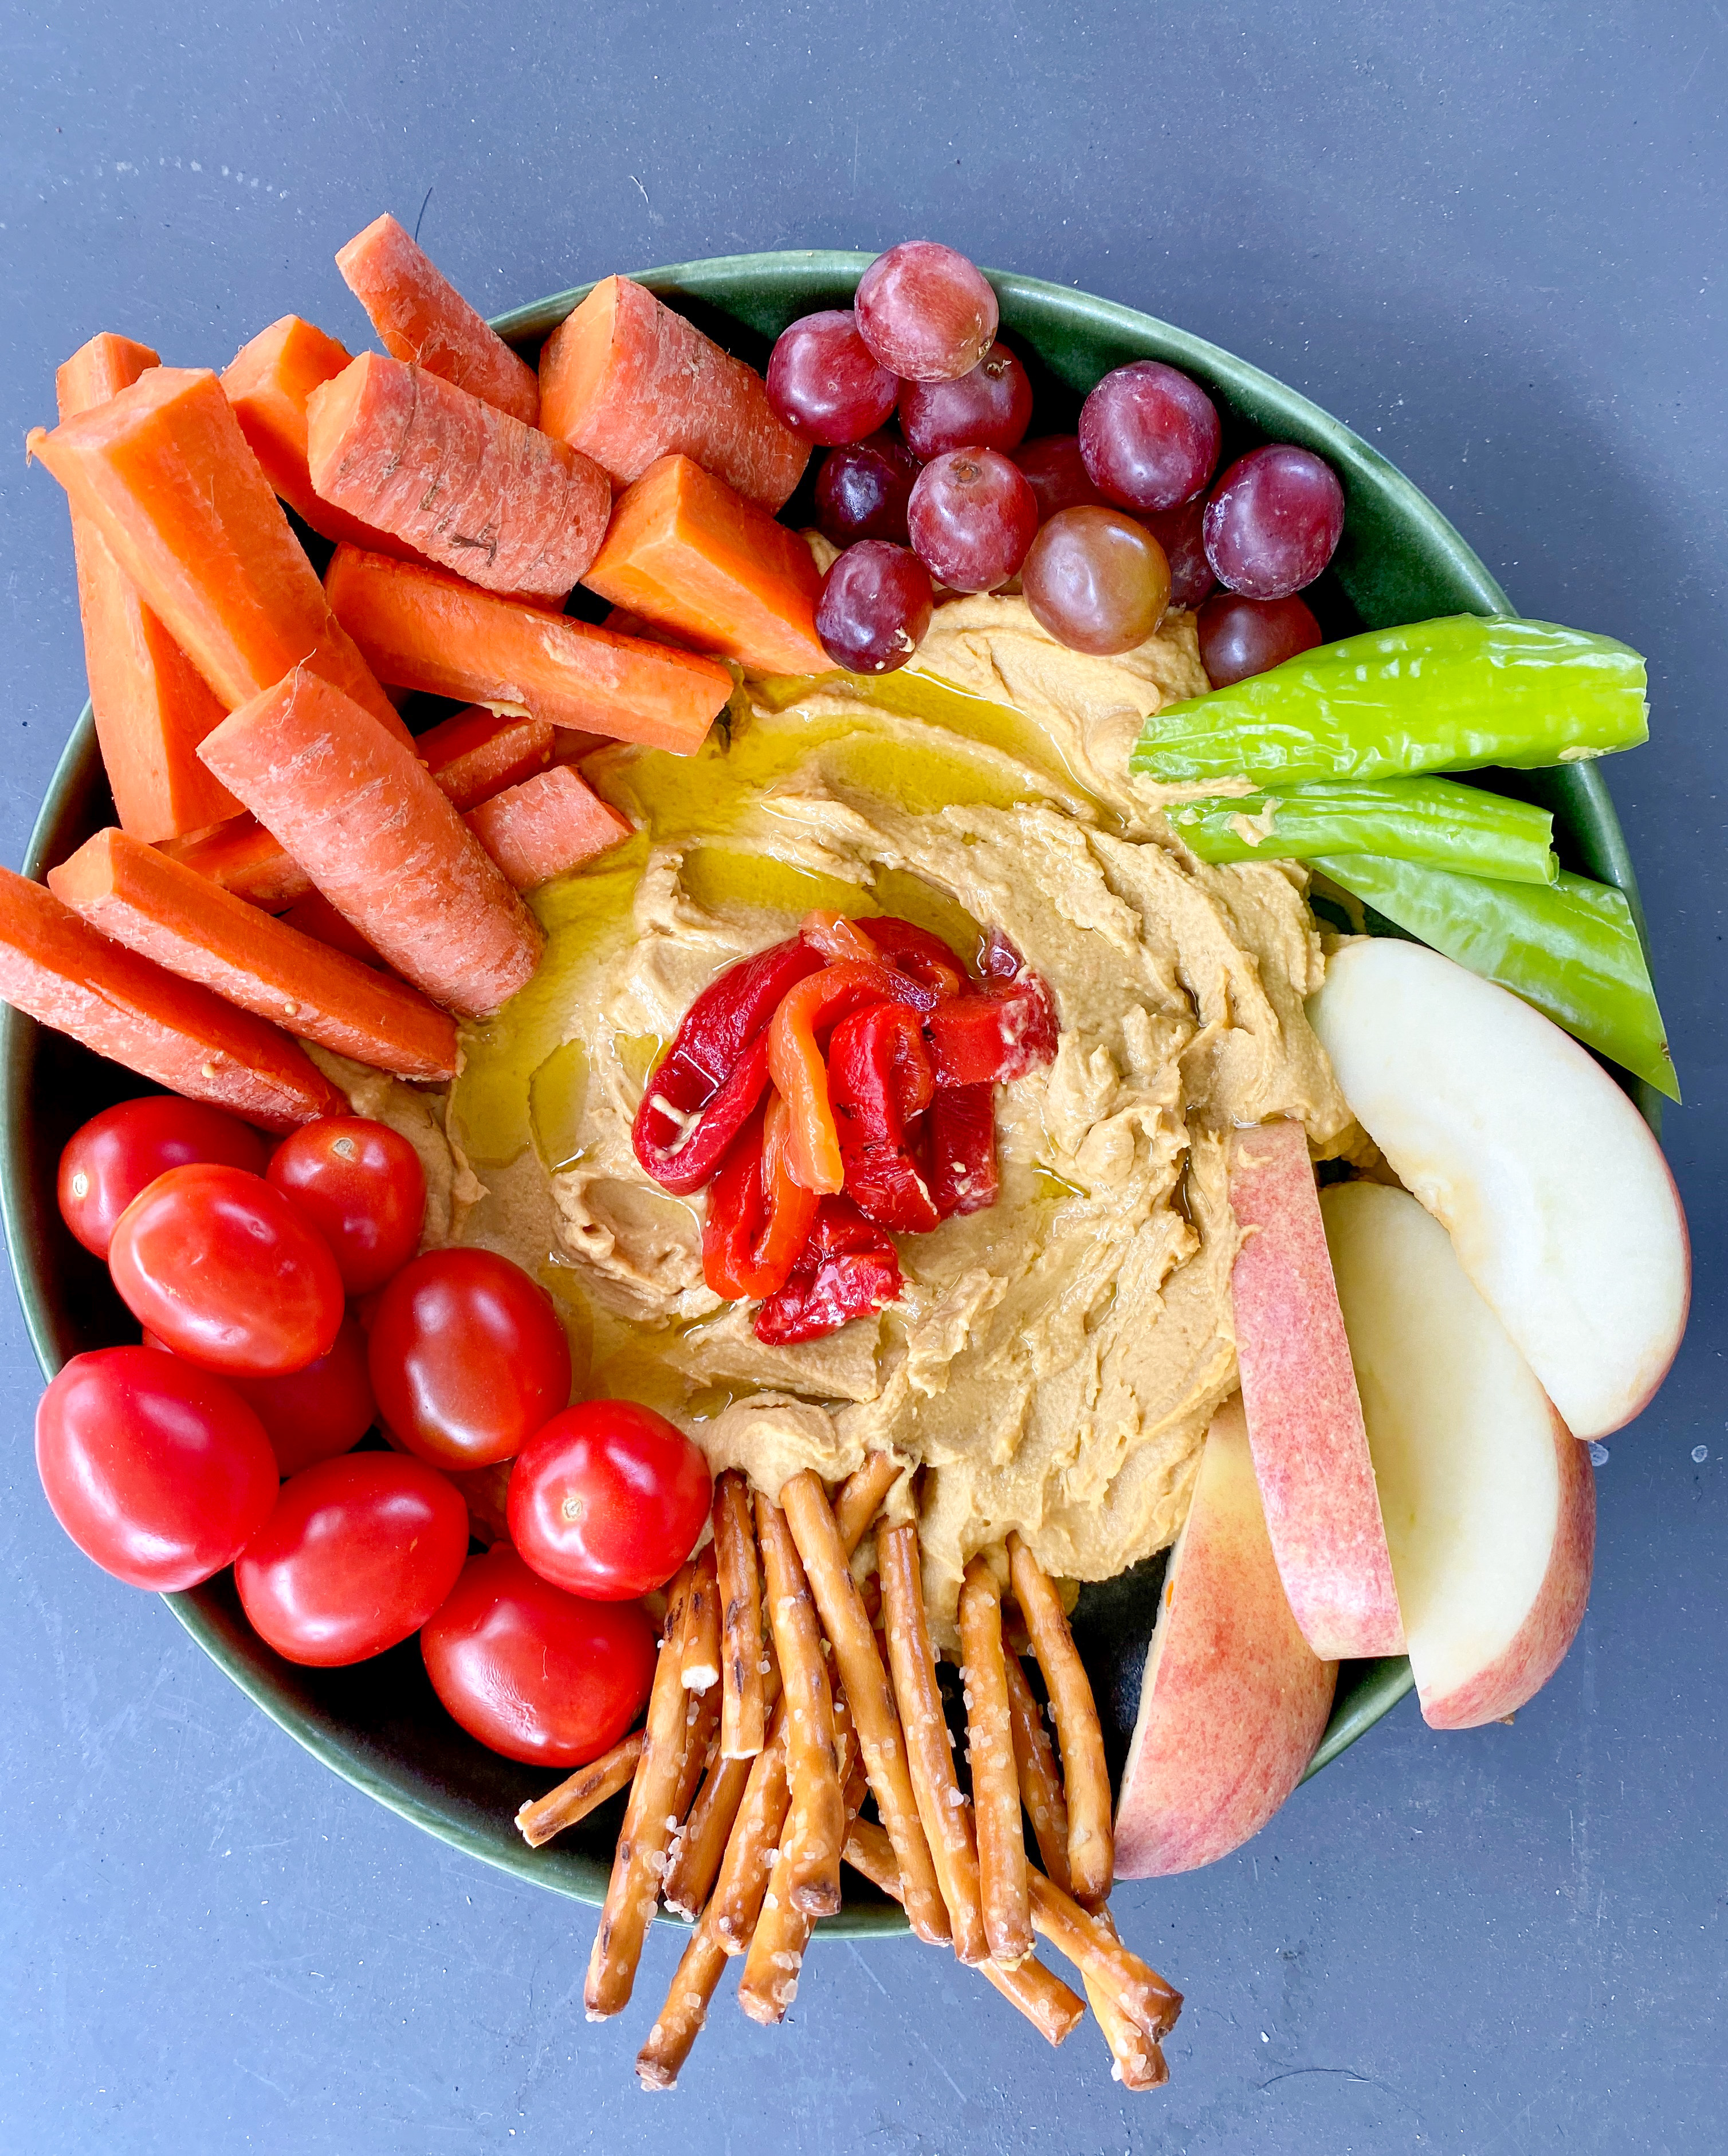
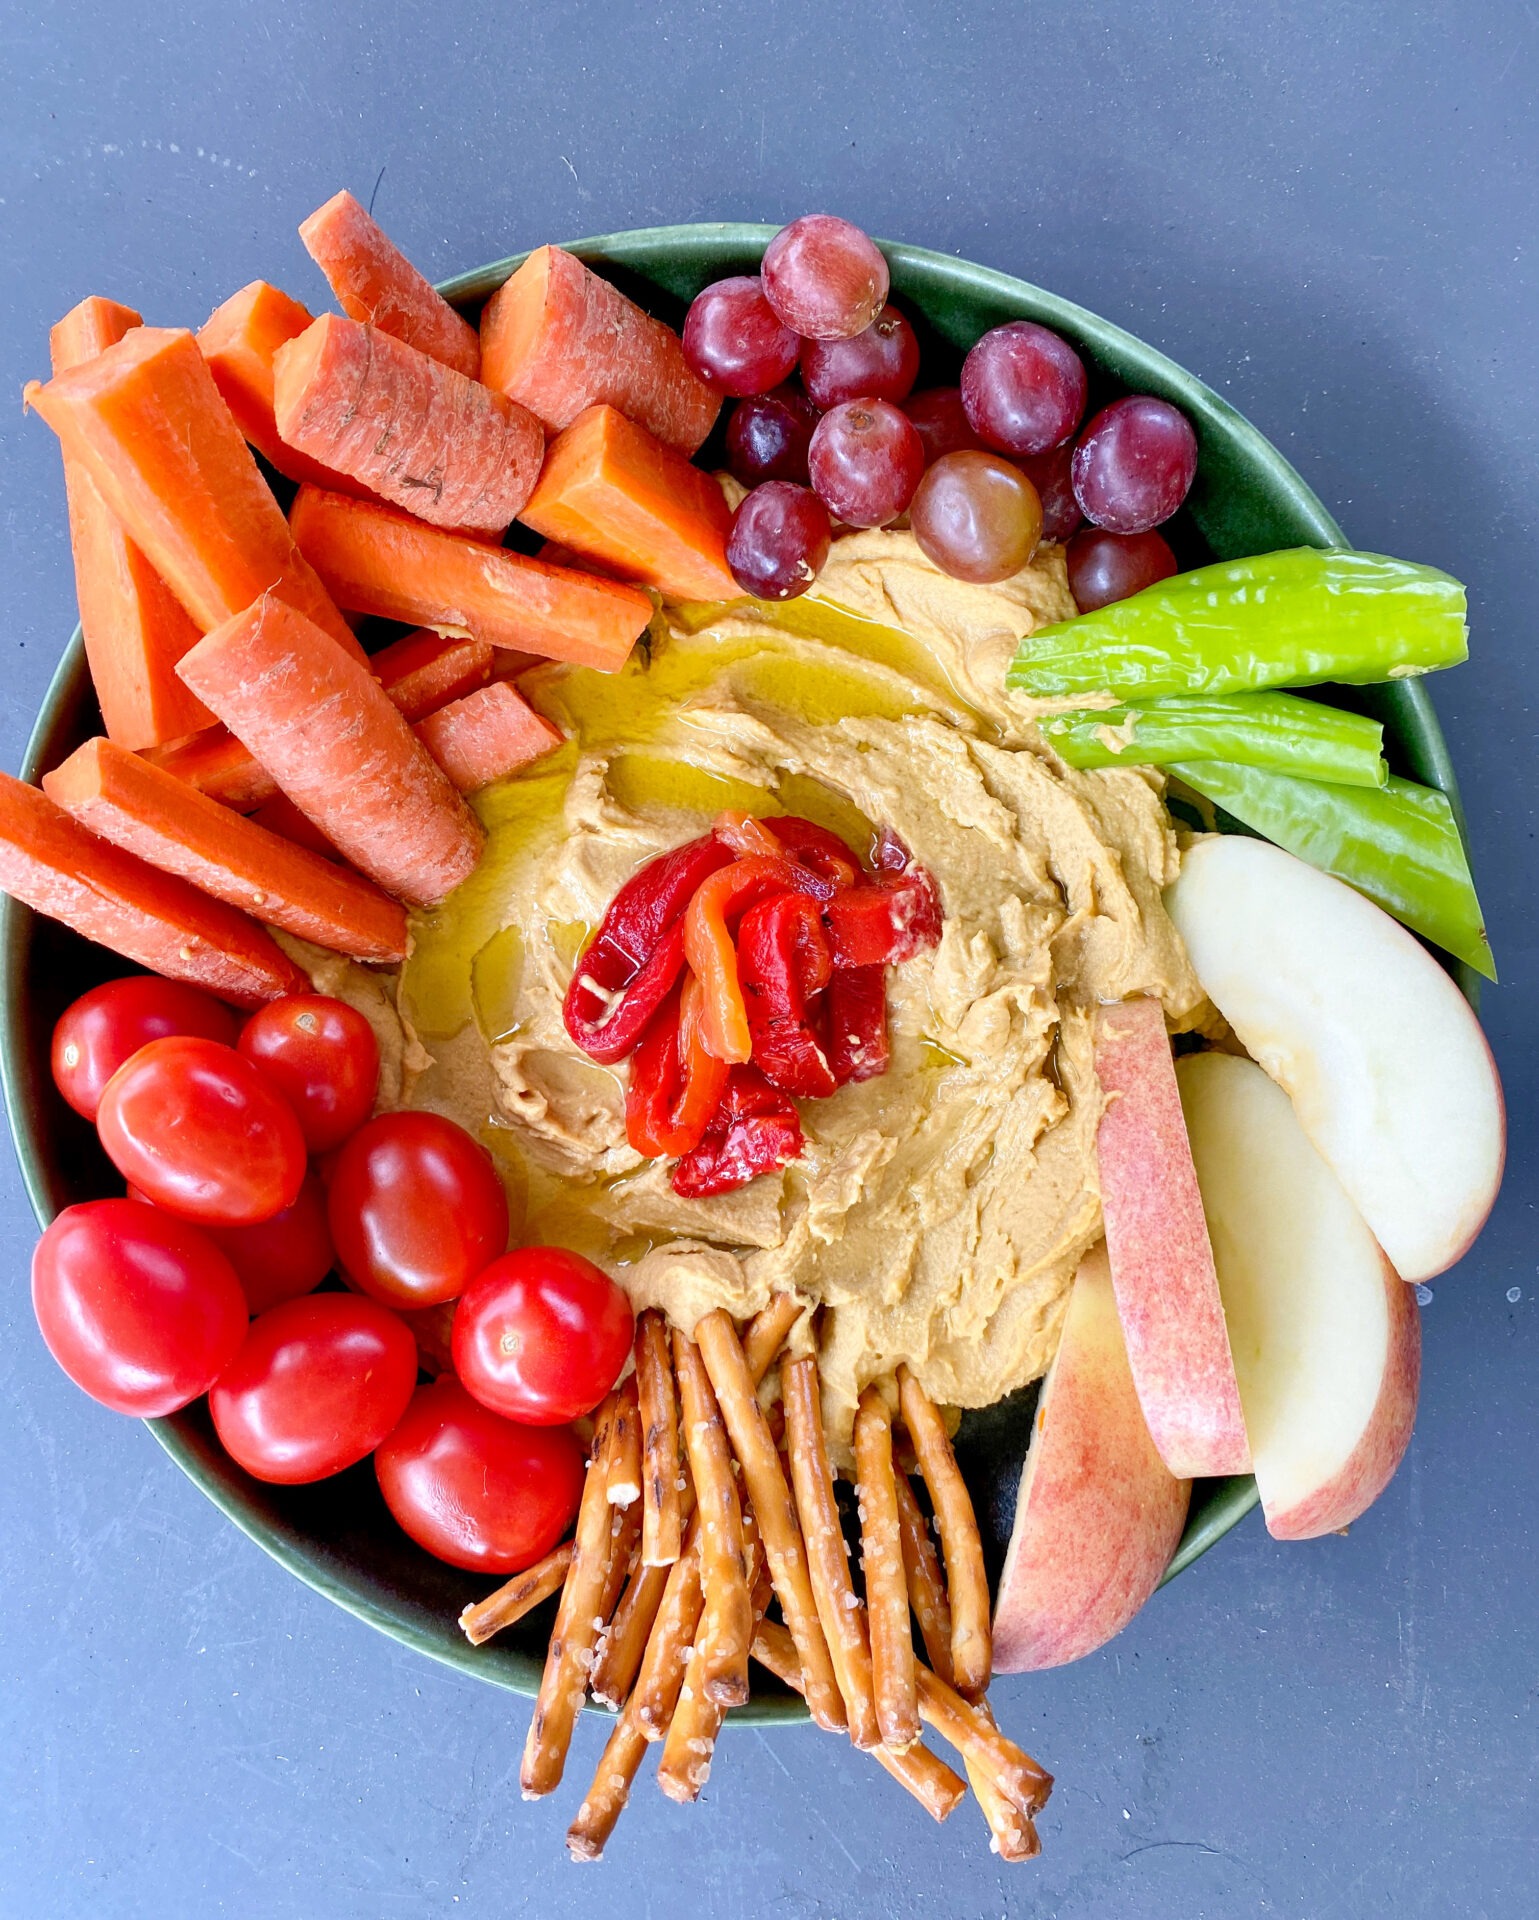
homemade roasted garlic hummus
One of my favorite restaurants in Denver is Safta, a modern Israeli restaurant, with some of the best hummus and pita I’ve ever had. I had only ever purchased grocery-store branded hummus and thought it’d be fun to take a stab at a homemade fresh option for a little get together with friends. I love bringing healthy options to parties with plenty of fruits and veggies to graze on all night.
I used some of Chef Alon Shaya‘s tips for making homemade hummus and added my own little flare. Don’t forget to tag me @cassidyeats if you make – what’s your favorite flavor of hummus?


homemade roasted garlic hummus
- Prep Time: 1 hour
- Cook Time: 30 minutes
- Total Time: 1 hour 30 minutes
- Yield: 8 servings 1x
Ingredients
- 3 cups dried chickpeas
- I used canned my first time making them and it still turned out okay if that’s all you have!
- 6 tablespoons baking soda
- 6 cups cold water
- 10 cloves of garlic, lightly smashed
- 2 cups rough chopped carrots
- 1/4 cup raw tahini
- 2 teaspoons kosher salt
- 1/4 teaspoon cumin
- 3 tablespoons lemon juice, plus more for serving
- 3 tablespoons sunflower or avocado oil
- 2 tablespoons hot water
- 2 tablespoons light extra virgin olive oil
Garnish:
- crumbled feta
- extra virgin olive oil
- parsley
- roasted red peppers
Instructions
The night before:
- Add dried chickpeas to a large bowl with 1 teaspoon of baking soda and cover with cold water and soak overnight.
The next morning:
- Preheat your oven to 400F.
- Drain the chickpeas and transfer to a baking sheet. Sprinkle 4 tablespoons of baking soda and spread evenly on the baking sheet. Place in the oven for 12 minutes.
- Transfer baked chickpeas to a colander in the sink and rinse under ice cold water. Massage the chickpeas to remove the extra baking soda and the skins will start to come off.
- In a large pot (we’re making a double batch and need room for water and more ingredients) over high heat, add chickpeas, 3 teaspoons of baking soda, and cover with water and bring to a boil. Reduce heat to medium.
- Any foam that comes to the top of the water – skim it off and discard. Keep doing this skimming off the skins and the foam for about 20 minutes.
- Add the crushed garlic and carrots to the pot and cook for another 30 minutes on medium.
- While that’s cooking, get the rest of your ingredients into the food processor – tahini, salt, cumin, lemon juice.
- Drain the chickpea/carrot/garlic and let sit in the sink (in the colander) for a few minutes to let any extra water drain.
- Add the chickpea mixture to the food processor and process for 3-4 minutes until the mixture is smooth.
- With the food processor still running, add sunflower oil, hot water, and 2 tablespoons of light olive oil. Keep processing! 2-3 more minutes!
- I like to chill mine before serving (it’ll be hot when it’s done) and garnish with crumbled feta, roasted red peppers, lemon juice, and a drizzle of olive oil.
Notes
- You can’t over process chickpeas so it should continue to become more creamy the longer you blend.
- The base is the chickpeas and tahini – you could add more garlic, less carrots, add in roasted red pepper in lieu of carrots, the world is your oyster! I’m going to experiment with new flavors now that I have the jist of the recipe down!
- WW: Making homemade hummus guarantees that you know exactly what to track. In this case if I were tracking, I would track the oil and tahini and divide by how many servings I plan to have.