how to make bone broth at home
If you follow me on TikTok, you might have seen my viral bone broth video (still can’t believe how many of you loved that one!). I’ve gotten so many questions asking for more details, so I’m breaking it all down for you here.
the difference between broth and stock
What actually IS bone broth, and how is it different from regular broth or stock?
Bone Broth: The wellness world’s darling – bones simmered for a LONG time (we’re talking 12-24+ hours) to extract all the collagen, minerals, and goodness. It’s typically rich, gelatinous when cold, and used both as a drink and cooking ingredient.
Stock: The chef’s kitchen staple – bones simmered with aromatics for a medium amount of time (4-6 hours). It’s meant as a cooking ingredient rather than a standalone drink.
Broth: The quick version – mostly meat with some bones simmered for a short time (1-2 hours). Light in flavor and color.
Here’s my hot take: the labels matter way less than the method. What most wellness influencers call “bone broth” is really just a well-made stock that’s simmered longer. The magic is in the process, not the name! HOWEVER there are little regulations on how it is marketed so if you see bone broth on the front of the container when buying store-bought, check the ingredients. It’s likely just stock with a bone broth name and price tag.
here’s why making bone broth is actually worth my time:
- It’s basically free food from scraps you’d throw away
- The nutrients are easily absorbed by your body
- It’s incredibly versatile in recipes and adds so much flavor (and protein!)
- The process is mostly hands-off
- You can control exactly what goes in
how to make bone broth
what you’ll need:
Bones: I usually save bones in my freezer over time and when I have a large amount or a need for a delicious broth I’ll pull them out
- Chicken carcass (save those rotisserie chicken bones!)
- Beef bones (ask your butcher for marrow bones, knuckles, or feet) You can find these in the meat section at most grocery stores already packaged.
- Fish bones (heads and frames work great)
- Pork bones
Aromatics: I typically clean out my produce drawer and add whatever is there but it should be around these ratios
- 2 carrots, roughly chopped
- 2 celery stalks, roughly chopped
- 1 onion, quartered (don’t even bother peeling it!)
- 4-6 garlic cloves, smashed
- 2 bay leaves
- 1 tbsp apple cider vinegar (helps pull minerals from the bones)
- Fresh herbs if you’re feeling fancy (thyme, rosemary, parsley stems)
- Salt and pepper to taste
*****I do not put onion or garlic in mine usually because I share it with my dog!!!!!!!!!!
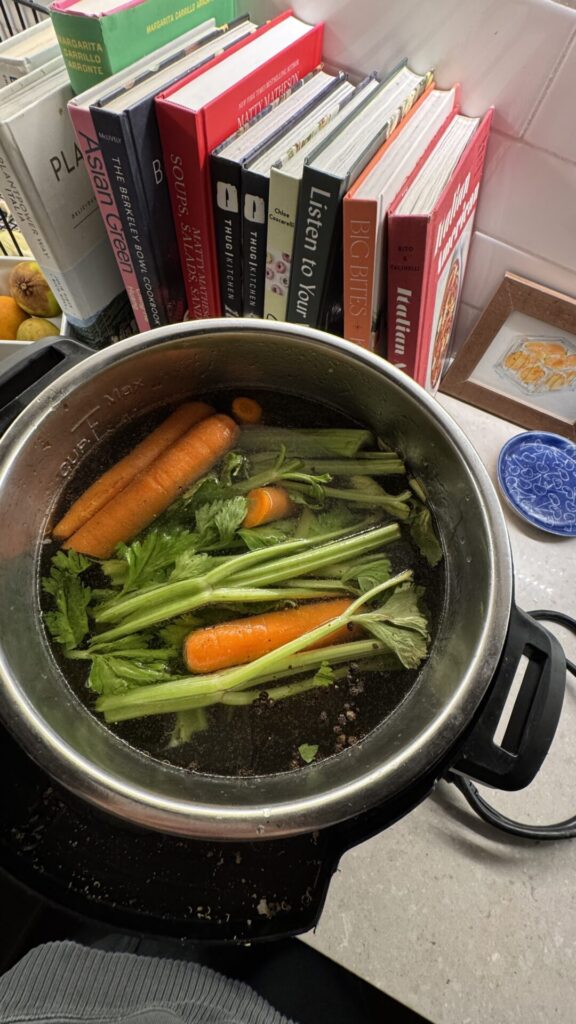
method 1: instant pot
This is my go-to when I want bone broth but don’t have all day to babysit a pot.
- Toss everything into your Instant Pot.
- Add filtered water until ingredients are covered (but stay below the max fill line).
- Close lid, set to “Pressure Cook” for 240 minutes.
- Natural release when done. I often do this at night as my IP defaults to a warm low setting until the morning when I can deal with it.
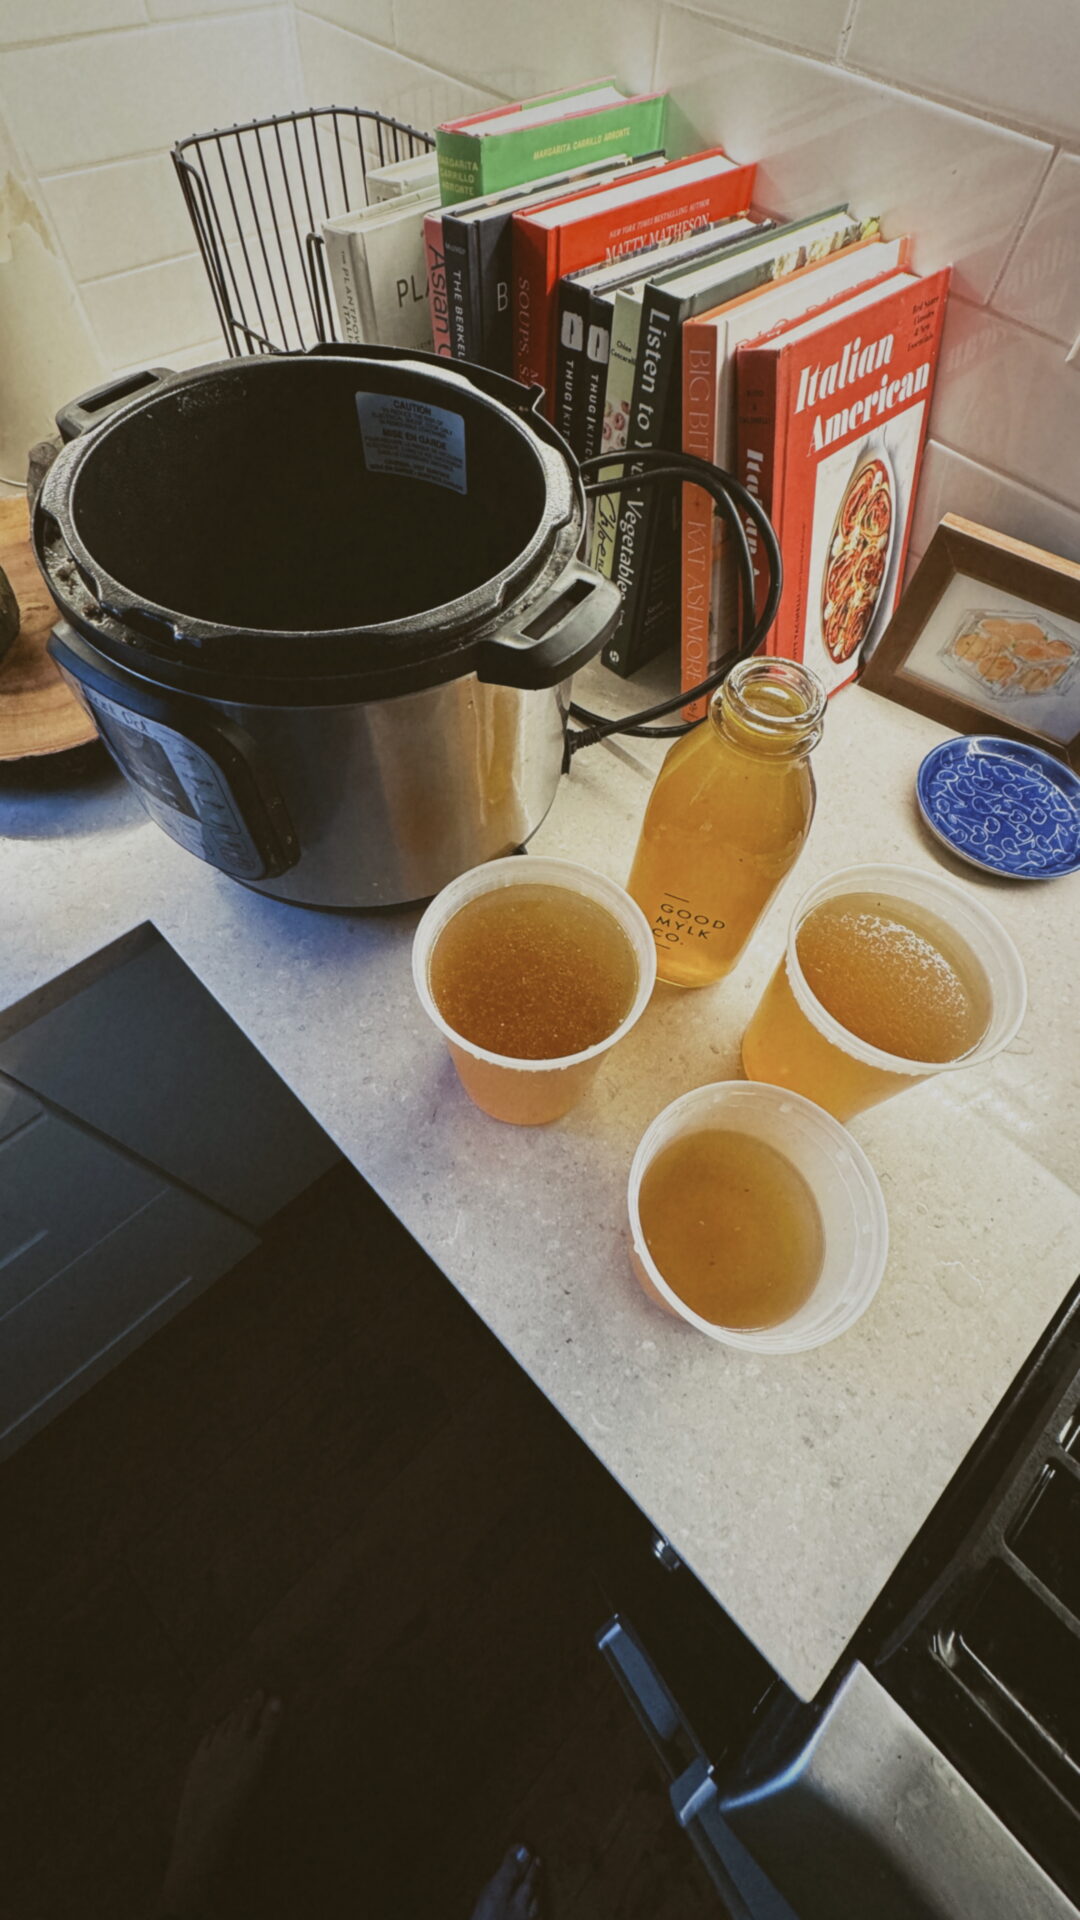
- Strain through a fine-mesh strainer.
Total time: About 5 hours including pressure build-up and release.
method 2: slow cooker
Perfect for when you’re working from home and want your house to smell amazing.
- Add all ingredients to your slow cooker.
- Fill with water until everything is covered.
- Cook on low for 12-24 hours (the longer, the richer).
- Strain through a fine-mesh strainer.
Total time: 12-24 hours, but completely hands-off.
method 3: stovetop
- Add all ingredients to a large stock pot.
- Fill with water until everything is covered.
- Bring to a boil, then immediately reduce to the lowest possible simmer.
- Partially cover and simmer for 12-24 hours, occasionally skimming any foam that rises to the top.
- Add water as needed if too much evaporates.
- Strain through a fine-mesh strainer.
Total time: 12-24 hours with occasional checking.
storage tips
- Let your broth cool before refrigerating or freezing (but don’t leave it out more than 2 hours).
- Refrigerate for up to 5 days.
- Freeze in ice cube trays for easy portioning in recipes.
- Use silicone muffin tins to freeze larger portions.
- Store in glass jars for freezing (leave 1-inch headspace for expansion).
- Don’t freak out about the fat layer that forms on top when cold – it helps preserve the broth and you can easily remove it.
how I use bone broth in daily life
- Sip it straight from a mug and add ginger, garlic, turmeric, salt, spices, etc. when I’m feeling run down
- Use it as the cooking liquid for grains like rice or quinoa
- Make soups and stews with it as the base
- Use it to deglaze pans when sautéing veggies
- Braise meats in it for extra flavor
what about the gel?
If your broth turns to jelly when cold – congratulations! That means you extracted lots of collagen from the bones. If it doesn’t gel, it’s still nutritious, but next time try:
- Using more joint bones (knuckles, feet, wings)
- Reducing the water ratio
- Simmering longer
Remember, there’s no bone broth police checking the gel factor of your homemade creation. Any homemade version beats store-bought in terms of flavor and quality!